Navigating Zoho CRM Advanced Settings: A Comprehensive Guide
Accessing the Settings Area
Settings are accessed via the gear icon in the top-right corner of the Zoho CRM interface. Only users with the Administrator profile see the full settings menu. Standard user profiles see a limited version covering personal settings (password, notification preferences, mobile app) but not system configuration. If you need to configure settings and the full menu is not visible, check your profile permissions with your CRM administrator.
Company Settings
Company Settings is the first section to configure in any new Zoho CRM installation. It contains settings that affect every record and every report across the entire system.
- Organisation Name and Logo — displayed on email templates, PDF exports and the login screen.
- Fiscal Year — sets the start month for your business year. Reports that use fiscal period comparisons (this quarter vs last quarter, this fiscal year vs last) depend entirely on this setting. Change it before you create any records.
- Business Hours — the time window during which automated emails and workflow time-based triggers are permitted to fire. Set this to your actual working hours to prevent automated emails from being sent at midnight.
- Date and Time Format — controls how dates display across the entire CRM. Choose the format your team uses natively — do not leave this at the US default if your team is in the UK or Australia.
- Currency — your base currency for deal values and revenue reporting. Set this before any deals are created. Changing base currency after data exists requires a manual recalculation of all historical deal values.
Users and Control
The Users and Control section contains the access management settings that determine who can see and do what in your CRM.
Users
Add, deactivate and manage individual user accounts. Each user has an assigned profile (what they can do) and a role (what records they can see). When a user leaves the organisation, deactivate rather than delete their account — deleting removes the ownership record from all records they owned, which corrupts pipeline reporting. Transfer record ownership before deactivating.
Profiles
Create and configure permission sets. Each profile controls module-level access (which modules the user can open), record-level permissions (create, read, update, delete, export) and system-level access (which settings menus are visible). The most important profile decision is how tightly to restrict the export permission — any user with export access can download your entire contact database to a CSV. See the user permissions guide.
Roles
Build and maintain your record visibility hierarchy. The role hierarchy determines which records each user can see based on their position in the organisational tree. A manager at a higher role level can see all records owned by users below them. Review the role structure whenever new teams are created or reporting lines change.
Security Control
Field-level security, IP access restrictions and two-factor authentication settings all live here. Field-level security lets you hide specific fields from specific profiles — important for salary fields, deal financial data and any information that should not be visible to all CRM users. IP access restrictions limit login to approved IP address ranges. Enable two-factor authentication for all users — this is the single most effective security measure for a cloud CRM. See the Zoho CRM security hub for the full security configuration guide.
Automation Settings
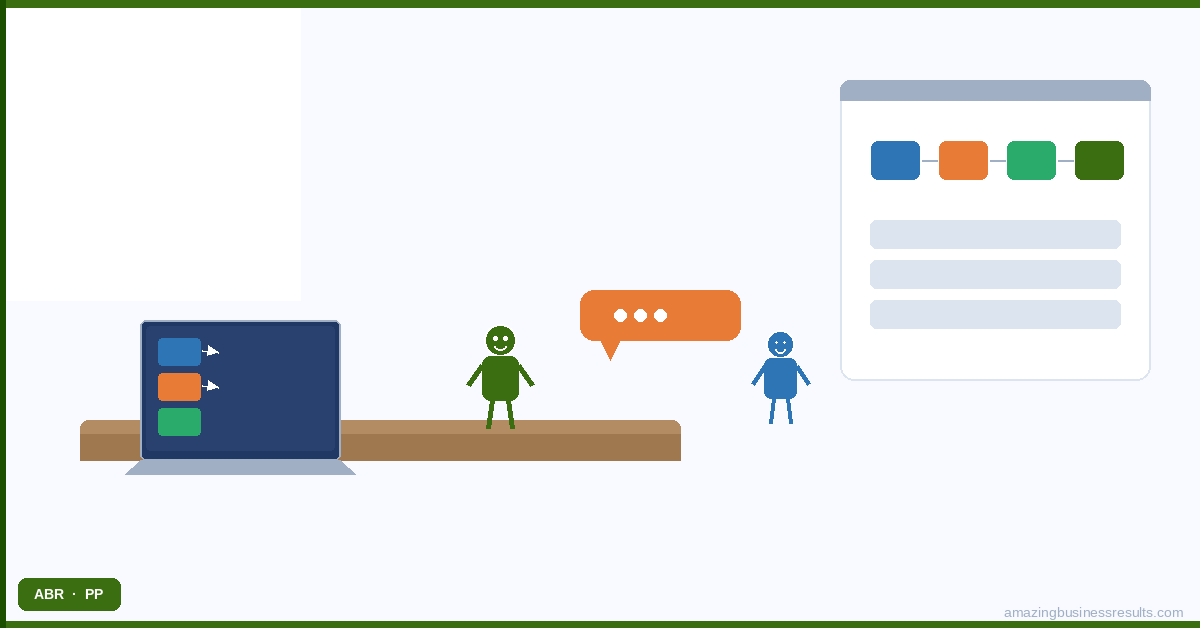
The Automation section shows all automation tools in one place: workflow rules, blueprints, cadences, approval processes and macros. Each has its own settings sub-menu with an active/inactive toggle, an execution log and an edit interface.
- Workflow Rules — lists all active and inactive workflow rules across all modules. The execution log shows which rules fired, on which records and at what time. Check the execution log when a workflow is not behaving as expected — the log usually identifies whether the rule fired or was skipped due to a condition mismatch.
- Blueprints — lists all blueprints and their active module assignment. A blueprint can be active on a module or inactive — inactive blueprints do not block any transitions.
- Cadences — shows all active sequences and their enrolment counts. The cadence performance dashboard is accessed from here — open rate, reply rate and step completion per cadence.
- Macros — single-click action bundles available to sales reps from within a record. Macros run a predefined set of actions (send an email, create a task, update a field) with one click. They are faster than manual steps and more flexible than fully automated workflow rules.
Email Configuration
Email settings control how Zoho CRM sends and receives email. The three configuration areas that matter most:
- Email Integration — connecting each user’s email account (Gmail, Outlook, Microsoft 365 or any IMAP service) so all sent and received emails are logged on the relevant CRM records automatically.
- Email Relay — routing automated CRM emails (workflow rule emails, cadence emails) through your own mail server rather than Zoho’s servers. This improves deliverability and ensures automated emails come from your domain rather than a Zoho subdomain.
- Email Templates — the library of email templates available to reps for manual emails and to automation rules for automated sending. Templates support merge fields for personalisation.
See the email configuration guide for step-by-step email integration setup.
Modules and Fields
The Modules and Fields section is where you create and manage the data structure of your CRM. Here you create custom modules, add custom fields to existing modules, configure field dependencies (conditional field display based on another field’s value), set up validation rules and manage the picklist values that appear in dropdown fields across all modules.
Picklist value management deserves particular attention — over time, most CRMs accumulate inconsistent picklist values through manual additions and imports. A quarterly audit of your Lead Source, Industry and Stage picklists to remove unused values and standardise terminology keeps your reporting clean and your segmentation reliable.
See the custom modules and fields guide for the full configuration walkthrough.
Data Administration
Data administration tools handle the operational maintenance tasks that keep your CRM healthy over time:
- Import — the module-level CSV importer for adding records in bulk. Also used for updating existing records in bulk by importing a CSV with the Record ID field populated.
- Deduplicate — Zoho CRM’s built-in deduplication tool checks for duplicate records across a module based on matching field values (email address, phone number, company name). Run deduplication after any bulk import and on a quarterly schedule for active CRM installations.
- Recycle Bin — deleted records are held in the recycle bin for 60 days before permanent deletion. Records can be restored from the recycle bin within that window. After 60 days, deletion is permanent.
- Storage — shows current storage usage across records, email logs and file attachments. Zoho CRM storage limits vary by plan — check usage before hitting limits to avoid service disruptions.
Frequently Asked Questions
What should I configure in Zoho CRM settings before going live?
How do I access Zoho CRM settings?
Can Zoho CRM settings be changed without affecting live data?
Can ABR help us configure Zoho CRM settings correctly?